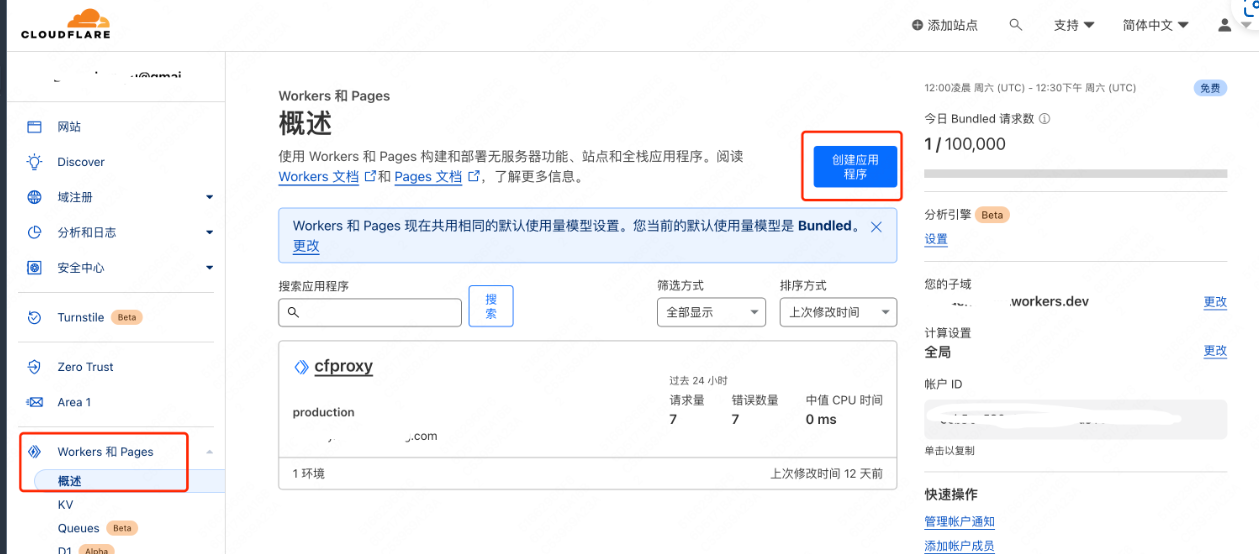
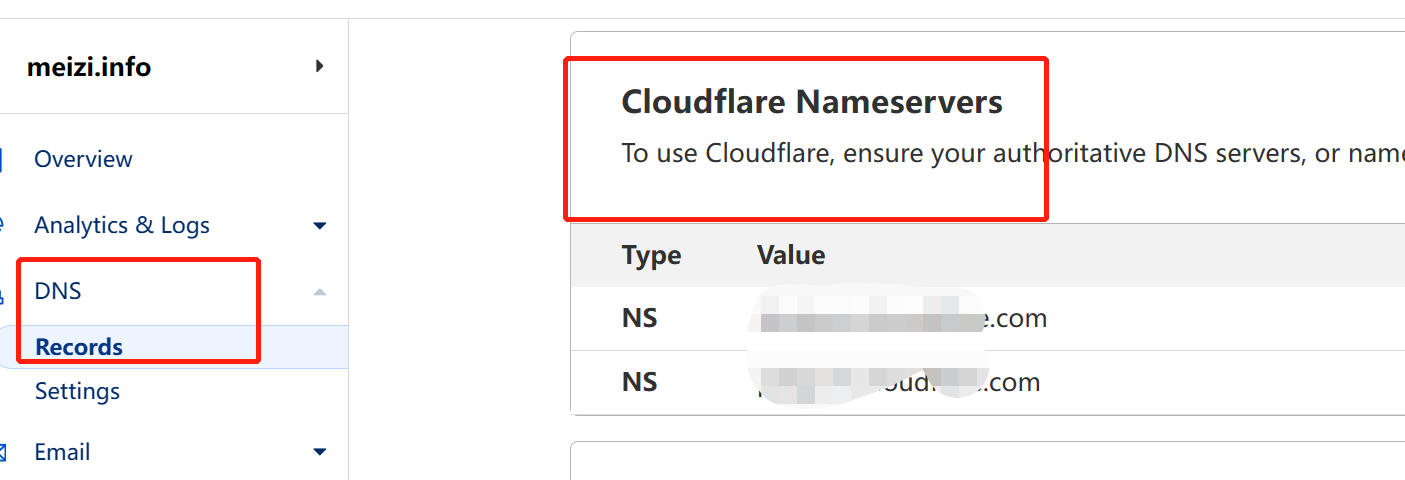
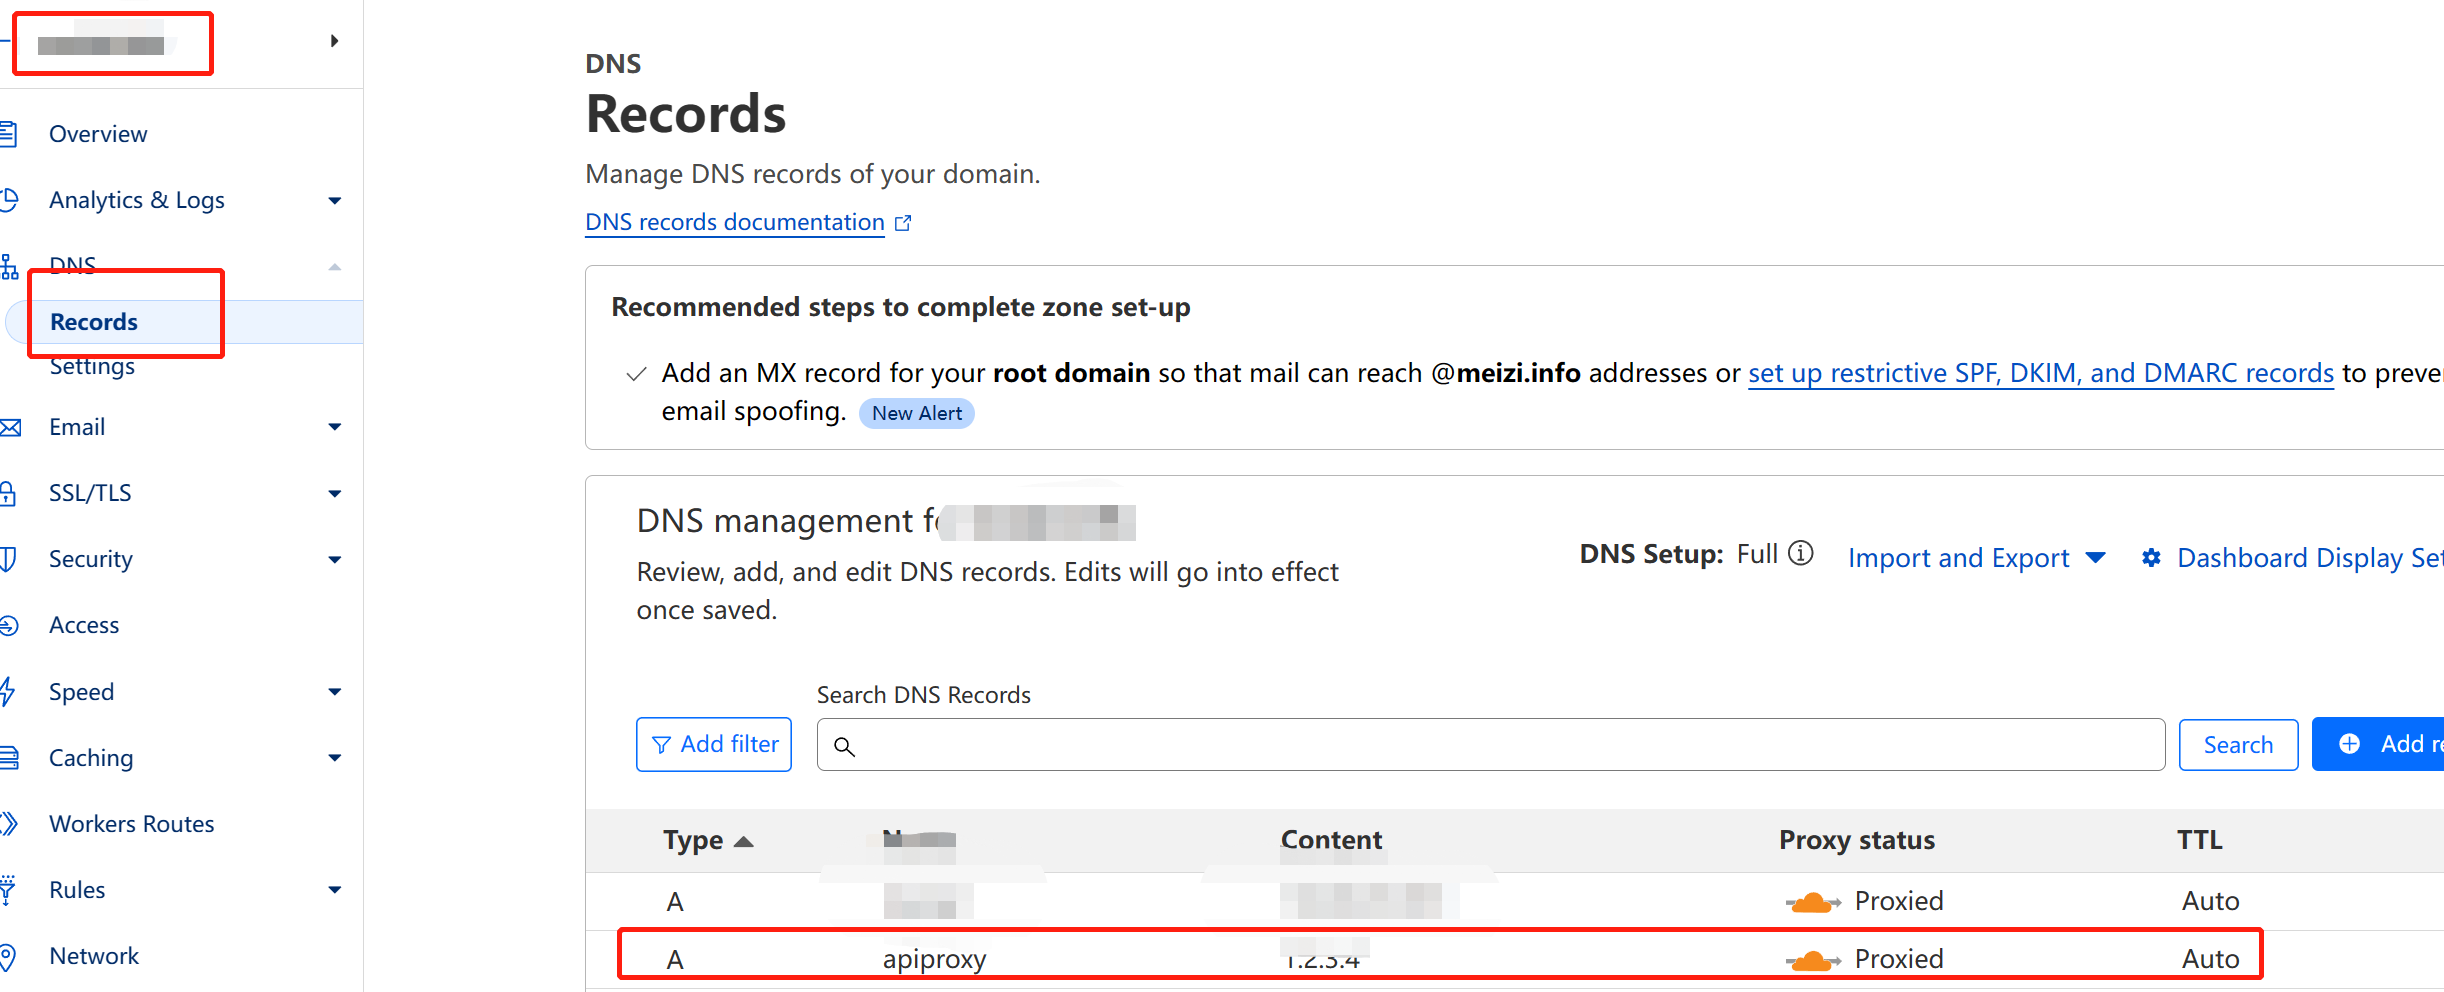
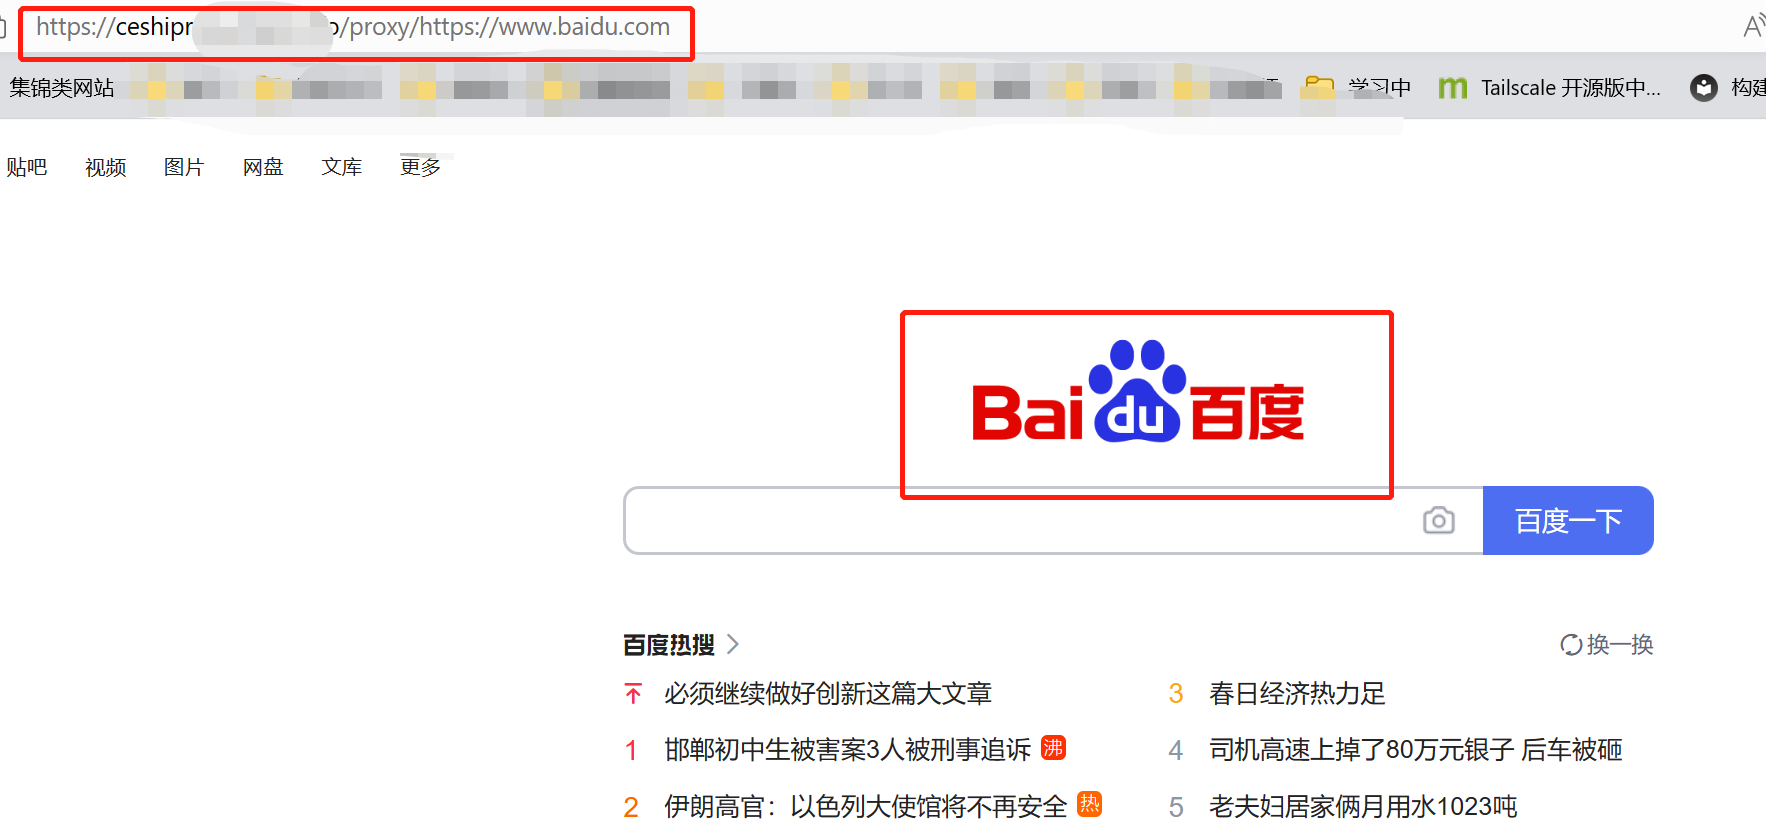
1
2
3
4
5
6
7
8
9
10
11
12
13
14
15
16
17
18
19
20
21
22
23
24
25
26
27
28
29
30
31
32
33
34
35
36
37
38
39
40
41
42
43
44
45
46
47
48
49
50
51
52
53
54
55
56
57
58
59
60
61
62
63
64
65
66
67
68
69
70
71
72
73
74
75
76
77
78
79
80
81
82
83
84
85
86
87
88
89
90
91
92
93
94
95
96
97
98
99
100
101
102
103
104
105
106
107
108
109
110
111
112
113
114
115
116
| addEventListener('fetch', event => {
event.respondWith(handleRequest(event.request))
})
async function handleRequest(request) {
const url = new URL(request.url);
if (url.pathname === '/' || url.pathname === '/proxy/') {
return createLandingPage();
}
const actualUrlStr = url.pathname.replace("/proxy/","") + url.search + url.hash
const actualUrl = new URL(actualUrlStr)
const modifiedRequest = new Request(actualUrl, {
headers: request.headers,
method: request.method,
body: request.body,
redirect: 'follow'
});
const response = await fetch(modifiedRequest);
const modifiedResponse = new Response(response.body, response);
modifiedResponse.headers.set('Access-Control-Allow-Origin', '*');
return modifiedResponse;
}
function createLandingPage() {
const html = `
<!DOCTYPE html>
<html lang="en">
<head>
<style>
body {
background-color: #fbfbfb;
font-family: Arial, sans-serif;
}
h1 {
text-align: center;
color: #444;
}
.container {
display: flex;
flex-direction: column;
justify-content: center;
align-items: center;
height: 100vh;
}
form {
background-color: white;
box-shadow: 0 3px 6px rgba(0, 0, 0, 0.16), 0 3px 6px rgba(0, 0, 0, 0.23);
padding: 2rem;
border-radius: 8px;
}
input {
display: block;
width: 100%;
font-size: 18px;
padding: 15px;
border: solid 1px #ccc;
border-radius: 4px;
margin: 1rem 0;
}
button {
padding: 15px;
background-color: #0288d1;
color: white;
font-size: 18px;
border: none;
border-radius: 4px;
cursor: pointer;
width: 100%;
}
button:hover {
background-color: #039BE5;
}
</style>
<meta charset="UTF-8">
<title>代理服务器</title>
</head>
<body>
<h1>输入您想访问的网址</h1>
<form id="proxy-form">
<input type="text" id="url" name="url" placeholder="https://example.com" required />
<button type="submit">访问</button>
</form>
<script>
const form = document.getElementById('proxy-form');
form.addEventListener('submit', event => {
event.preventDefault();
const input = document.getElementById('url');
const actualUrl = input.value;
const proxyUrl = '/proxy/' + actualUrl;
location.href = proxyUrl;
});
</script>
</body>
</html>
`;
return new Response(html, {
headers: { 'Content-Type': 'text/html' }
});
}
|


